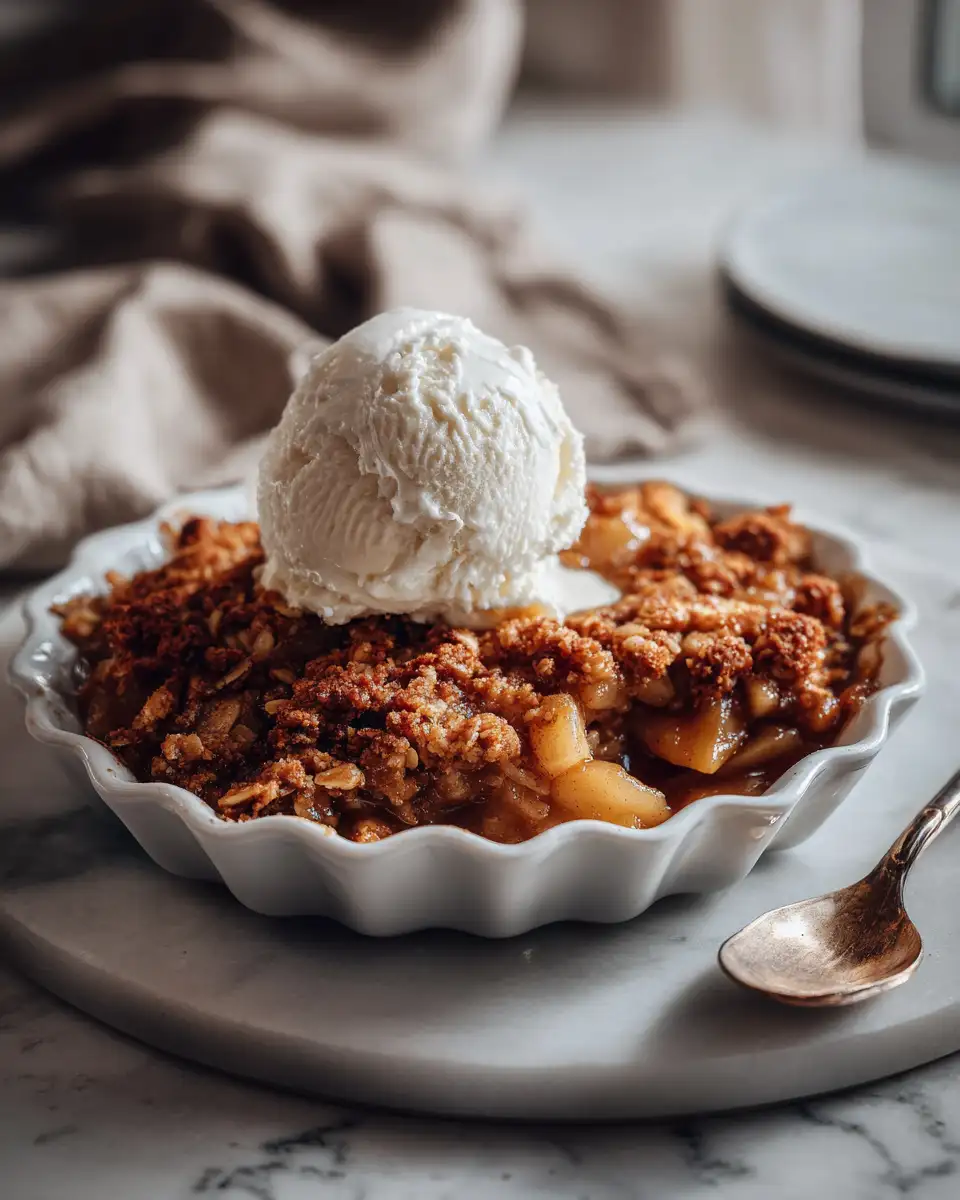
There’s something undeniably comforting about a warm apple crisp coming out of the oven—its sweet aroma filling the house and inviting everyone to gather around the table. Growing up in my small coastal town, apple crisp wasn’t just a dessert; it was a way to end our family dinners on a cozy, satisfying note. I remember learning early on how simple pantry staples could transform into this heartwarming dish, especially after that infamous chili incident when I was twelve. Just like fixing that over-salted pot of chili, mastering apple crisp taught me the joy of balancing flavors and textures with everyday ingredients. If you’re looking for a dessert that’s approachable, budget-friendly, and endlessly adaptable, this apple crisp recipe is the one to keep in your back pocket.
Table of Contents
Why You’ll Love This Apple Crisp
Apple crisp has a special place in my kitchen and heart because it’s the perfect blend of sweet, tart, and crunchy—all in one dish. Unlike more complicated desserts, it’s forgiving and flexible, which suits my home-cook philosophy perfectly. Growing up, my parents taught me how to stretch simple ingredients into meals that felt special, and apple crisp fits right into that tradition. It’s the kind of dessert that invites creativity—swap in different apples or nuts, adjust the sweetness, or make it gluten-free without losing that comforting crunch. Plus, it’s a one-dish wonder that doesn’t demand fancy equipment or hours of preparation. Whether you’re cooking for a weeknight family dinner or a casual gathering, apple crisp is a crowd-pleaser that brings everyone back to the table, just like it did for my family all those years ago.
Ingredients You’ll Need for This Apple Crisp
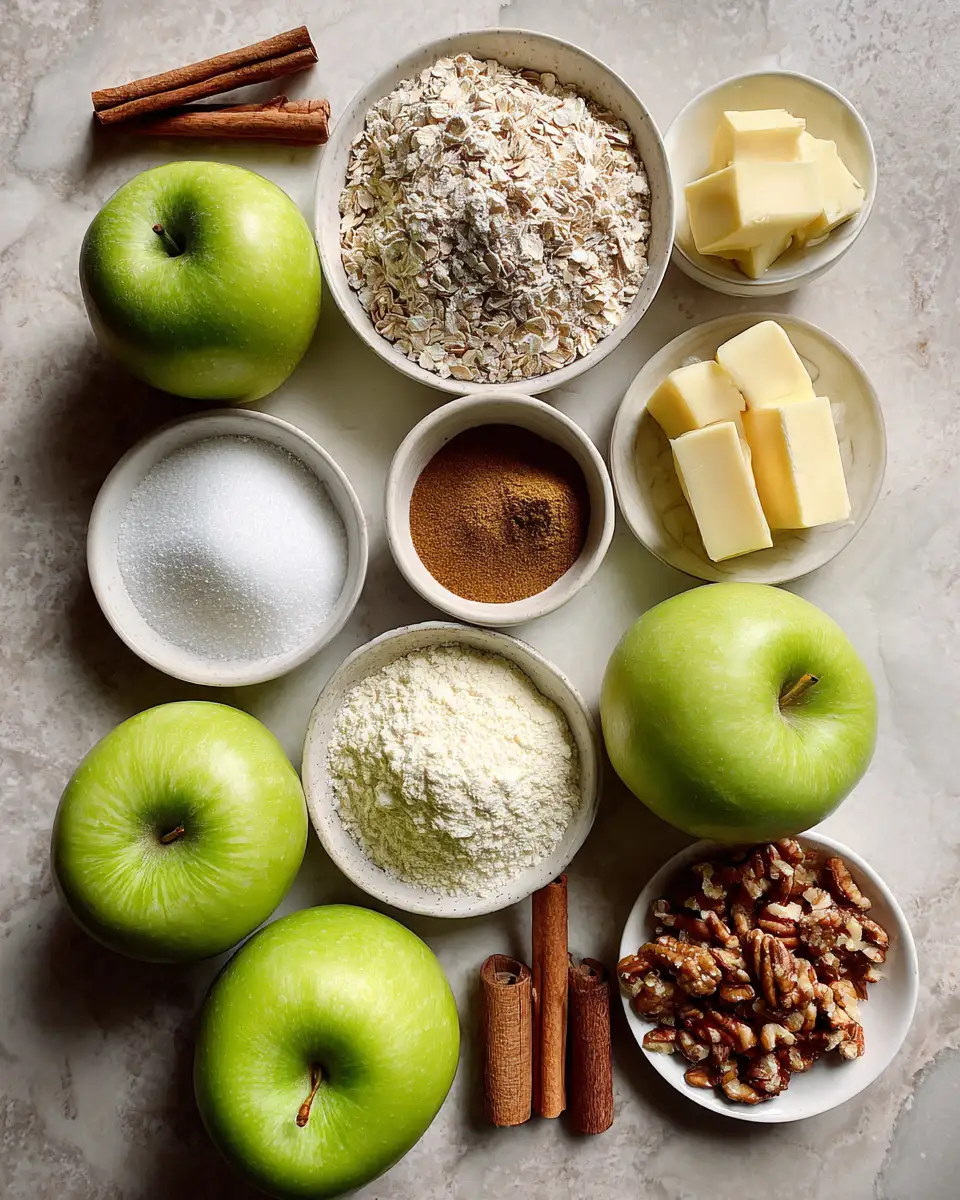
- 6 cups peeled, cored, and sliced apples (about 6 medium apples; Granny Smith, Honeycrisp, or a mix for balanced tartness)
- 1 tablespoon fresh lemon juice (helps prevent browning and adds brightness)
- 1/2 cup granulated sugar (adjust to taste depending on apple sweetness)
- 1 teaspoon ground cinnamon
- 1/4 teaspoon ground nutmeg (optional but adds warmth)
- 1/4 teaspoon salt
- 1 cup old-fashioned rolled oats
- 3/4 cup all-purpose flour (can substitute with gluten-free flour blend)
- 1/2 cup packed light brown sugar
- 1/2 cup unsalted butter, cold and cut into small cubes
- 1/2 cup chopped nuts (walnuts or pecans; optional but adds great texture)
Ingredient Substitutions: If you want to make this dairy-free, swap the butter for coconut oil or a plant-based margarine. For a lower-sugar version, reduce the sugar by a quarter cup or use a natural sweetener like maple syrup, though you’ll need to adjust the wet ingredients slightly. My family often swaps out the nuts depending on what’s on hand or skips them entirely when Eli isn’t in the mood for crunch.
Nutrition Facts
- Calories: Approximately 320 per serving (1/8th of the recipe)
- Protein: 3g
- Fat: 14g (mostly from butter and nuts)
- Carbohydrates: 45g
- Fiber: 4g (thanks to the oats and apples)
- Sugar: 28g (naturally from apples and added sugars)
- Sodium: 120mg
These numbers are based on realistic portions and common ingredient brands. One thing I love about apple crisp is that it includes fiber and some protein from the oats and nuts, making it a more balanced dessert than many sugary treats. When I was adjusting the recipe for Maya and Eli, I focused on keeping that balance without sacrificing flavor or texture.
Print
The Ultimate Apple Crisp Recipe to Satisfy Your Autumn Cravings
- Total Time: 45 minutes
- Yield: 4 servings 1x
Description
Learn how to make delicious apple crisp. Easy recipe with step-by-step instructions.
Ingredients
- 6 cups peeled, cored, and sliced apples (about 6 medium apples; Granny Smith, Honeycrisp, or a mix for balanced tartness)
- 1 tablespoon fresh lemon juice (helps prevent browning and adds brightness)
- 1/2 cup granulated sugar (adjust to taste depending on apple sweetness)
- 1 teaspoon ground cinnamon
- 1/4 teaspoon ground nutmeg (optional but adds warmth)
- 1/4 teaspoon salt
- 1 cup old-fashioned rolled oats
- 3/4 cup all-purpose flour (can substitute with gluten-free flour blend)
- 1/2 cup packed light brown sugar
- 1/2 cup unsalted butter, cold and cut into small cubes
- 1/2 cup chopped nuts (walnuts or pecans; optional but adds great texture)
Ingredient Substitutions: If you want to make this dairy-free, swap the butter for coconut oil or a plant-based margarine. For a lower-sugar version, reduce the sugar by a quarter cup or use a natural sweetener like maple syrup, though you’ll need to adjust the wet ingredients slightly. My family often swaps out the nuts depending on what’s on hand or skips them entirely when Eli isn’t in the mood for crunch.
Instructions
- Preheat your oven to 350°F (175°C) and lightly grease a 9×13-inch baking dish. I always keep a stick of butter handy for this—it’s a simple way to avoid sticking without extra cleanup.
- In a large bowl, toss the sliced apples with lemon juice to prevent browning, then stir in the granulated sugar, cinnamon, nutmeg, and salt. Make sure every slice is coated evenly—this step is key to that classic sweet-tart flavor.
- Transfer the apple mixture to your prepared baking dish, spreading it out in an even layer. I like to press down slightly to pack the apples in but not so much that they get mushy during baking.
- In a separate bowl, combine the rolled oats, flour, brown sugar, and chopped nuts if using. Cut in the cold butter using a pastry cutter or your fingers until the mixture resembles coarse crumbs. This crumbly topping is what gives apple crisp its signature texture.
- Sprinkle the oat mixture evenly over the apples, covering them completely. A generous layer here is what turns this dish from good to unforgettable.
- Bake for 40 to 45 minutes, or until the topping is golden brown and the apples are bubbly and tender. You’ll know it’s ready when the edges bubble up and the top crisps to a deep golden color. If your oven runs hot, start checking around 35 minutes.
- Remove from the oven and let cool for at least 15 minutes before serving. This resting time helps the juices thicken and makes scooping easier. Plus, it’s a great excuse to breathe in that amazing aroma and get your family gathered around.
From my experience hosting those Wednesday dinners in college, timing is everything. This recipe fits perfectly into a weeknight routine—you can prep the topping ahead of time and assemble right before baking. I’ve found that letting the apples sit with the sugar and spices for 10-15 minutes before topping really amps up the flavor, a tip I picked up from my culinary classes and family meals alike.
- Prep Time: 15 minutes
- Cook Time: 30 minutes
- Category: Main Dish
- Method: Cooking
- Cuisine: International
Keywords: apple crisp, recipe, cooking, food
Steps to Create Your Apple Crisp
- Preheat your oven to 350°F (175°C) and lightly grease a 9×13-inch baking dish. I always keep a stick of butter handy for this—it’s a simple way to avoid sticking without extra cleanup.
- In a large bowl, toss the sliced apples with lemon juice to prevent browning, then stir in the granulated sugar, cinnamon, nutmeg, and salt. Make sure every slice is coated evenly—this step is key to that classic sweet-tart flavor.
- Transfer the apple mixture to your prepared baking dish, spreading it out in an even layer. I like to press down slightly to pack the apples in but not so much that they get mushy during baking.
- In a separate bowl, combine the rolled oats, flour, brown sugar, and chopped nuts if using. Cut in the cold butter using a pastry cutter or your fingers until the mixture resembles coarse crumbs. This crumbly topping is what gives apple crisp its signature texture.
- Sprinkle the oat mixture evenly over the apples, covering them completely. A generous layer here is what turns this dish from good to unforgettable.
- Bake for 40 to 45 minutes, or until the topping is golden brown and the apples are bubbly and tender. You’ll know it’s ready when the edges bubble up and the top crisps to a deep golden color. If your oven runs hot, start checking around 35 minutes.
- Remove from the oven and let cool for at least 15 minutes before serving. This resting time helps the juices thicken and makes scooping easier. Plus, it’s a great excuse to breathe in that amazing aroma and get your family gathered around.
From my experience hosting those Wednesday dinners in college, timing is everything. This recipe fits perfectly into a weeknight routine—you can prep the topping ahead of time and assemble right before baking. I’ve found that letting the apples sit with the sugar and spices for 10-15 minutes before topping really amps up the flavor, a tip I picked up from my culinary classes and family meals alike.
Tips for Making the Best Apple Crisp
- Choose a mix of apples: Combining tart and sweet apples adds depth. Granny Smith for tartness, Honeycrisp or Fuji for sweetness.
- Keep your butter cold: Cold butter creates a crumbly, crunchy topping instead of a greasy mess. I learned this early on when my topping turned out more like a paste—lesson well learned!
- Don’t skip the lemon juice: It keeps the apples bright and prevents them from turning an unappetizing brown before baking.
- Customize your topping: Feel free to add shredded coconut, swap nuts, or toss in a pinch of ground ginger for extra warmth.
- Make it ahead: Assemble the crisp and refrigerate for up to 24 hours before baking. Great for busy evenings or last-minute guests.
- Watch your baking time: Ovens vary—start checking at 35 minutes to avoid overcooking the topping or drying out the apples.
My favorite tip comes from that chili-fixing night—if something feels off, taste and adjust. Apple crisp is forgiving, so if you want it sweeter or spicier, tweak the sugar or cinnamon after the apples are mixed. It’s a lesson that’s stuck with me: cooking is about enjoying the process, not just following rules. Learn more: Banana Bread Recipe: The Ultimate Guide to Moist, Fluffy Loaves
Serving Suggestions and Pairings
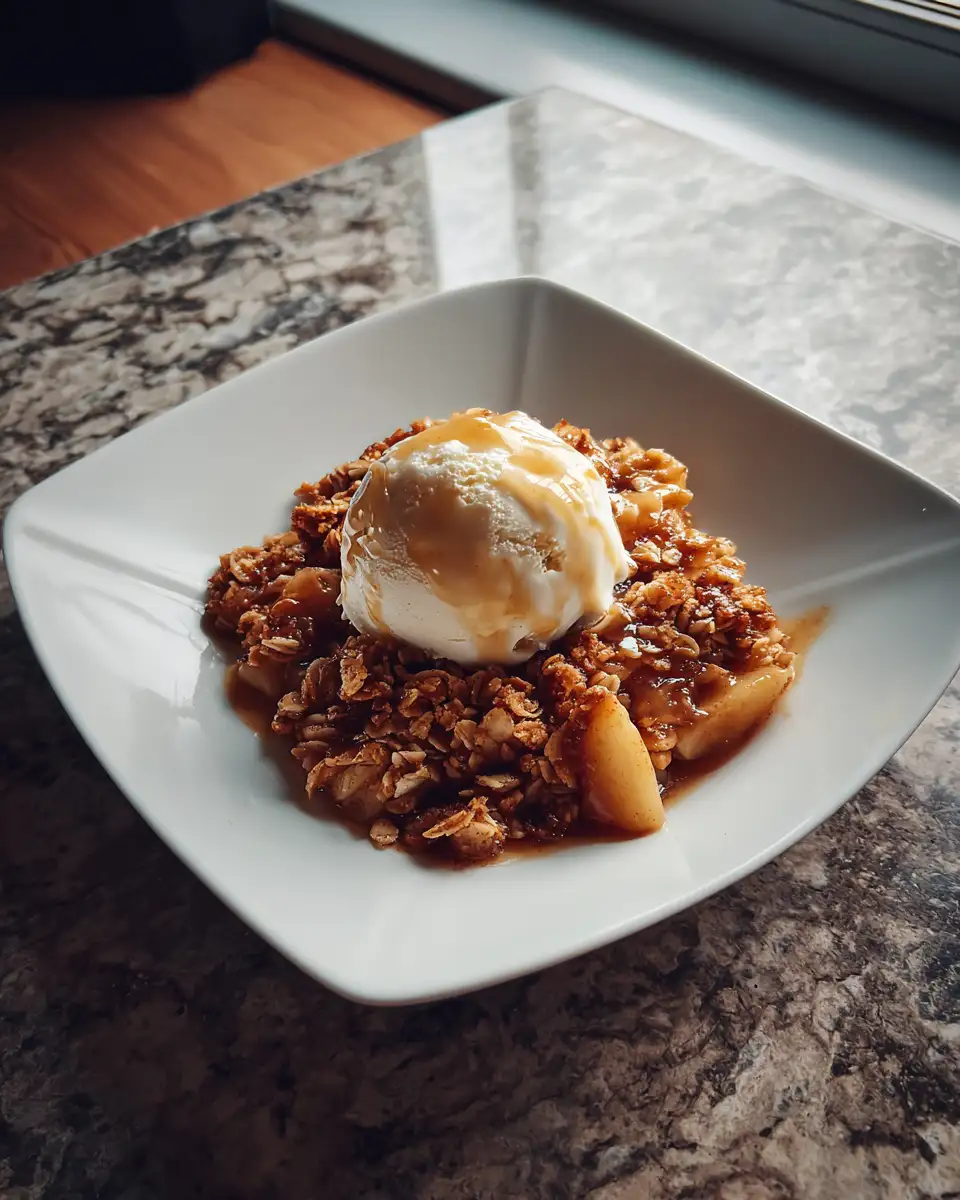
Apple crisp is delicious on its own, but a scoop of vanilla ice cream or a dollop of whipped cream takes it to a whole new level—something my family discovered early on. Eli’s favorite? Warm apple crisp topped with a drizzle of maple syrup and a sprinkle of cinnamon. For a grown-up twist, try serving it with a spoonful of crème fraîche or alongside a sharp cheddar cheese slice for a sweet-savory balance.
If you’re thinking about drinks, a cup of hot tea or cider complements the spices beautifully. During those Wednesday dinners at college, I often paired apple crisp with a simple black coffee—comfort food at its best. On cooler nights, it’s the perfect way to wrap up a meal and bring a little warmth to the table.
Storage and Reheating Tips
Apple crisp keeps well and actually tastes even better the next day as the flavors meld. Store leftovers in an airtight container in the fridge for up to 4 days. To reheat, pop individual portions in the microwave for 30-45 seconds or warm the whole dish in a 325°F oven for about 15 minutes to restore that crispy topping.
For longer storage, apple crisp freezes beautifully. Freeze in airtight containers or foil pans for up to 3 months. When ready to eat, thaw overnight in the fridge and reheat in the oven at 350°F until warmed through and crispy again. I’ve found that freezing is a lifesaver for busy weeks when I want a comforting dessert ready to go without the fuss.
Frequently Asked Questions
What are the main ingredients for apple crisp?
The main ingredients for apple crisp include the items listed in our ingredients section above. Each ingredient plays a crucial role in achieving the perfect flavor and texture.
How long does it take to make apple crisp?
The total time to make apple crisp includes both preparation and cooking time. Check the recipe card above for exact timing details.
Can I make apple crisp ahead of time?
Yes, apple crisp can often be prepared in advance. Store it properly in an airtight container in the refrigerator and consume within the recommended timeframe.
What can I serve with apple crisp?
apple crisp pairs well with various sides and accompaniments. Consider the serving suggestions mentioned in the recipe for the best dining experience.
Is apple crisp suitable for special diets?
Depending on the ingredients used, apple crisp may be adapted for various dietary needs. Check the ingredients list and consider substitutions as needed for your dietary requirements.
Final Thoughts
Apple crisp is more than just a dessert in my kitchen—it’s a reminder of the simple joys that come from cooking with love and sharing food with those you care about. From my early experiments fixing an oversalted chili to hosting affordable dinners for friends, I’ve always believed that great food doesn’t have to be complicated or expensive. This apple crisp recipe embodies that spirit—using humble ingredients to create something warm, satisfying, and full of memories.
So, whether you’re a seasoned home cook or just starting out, give this apple crisp a try. It’s reliable, forgiving, and deeply comforting—a dish that truly brings people to the table. And remember, if Eli’s eating it without a fuss, you know it’s a winner in my book. You’ve got this.
