
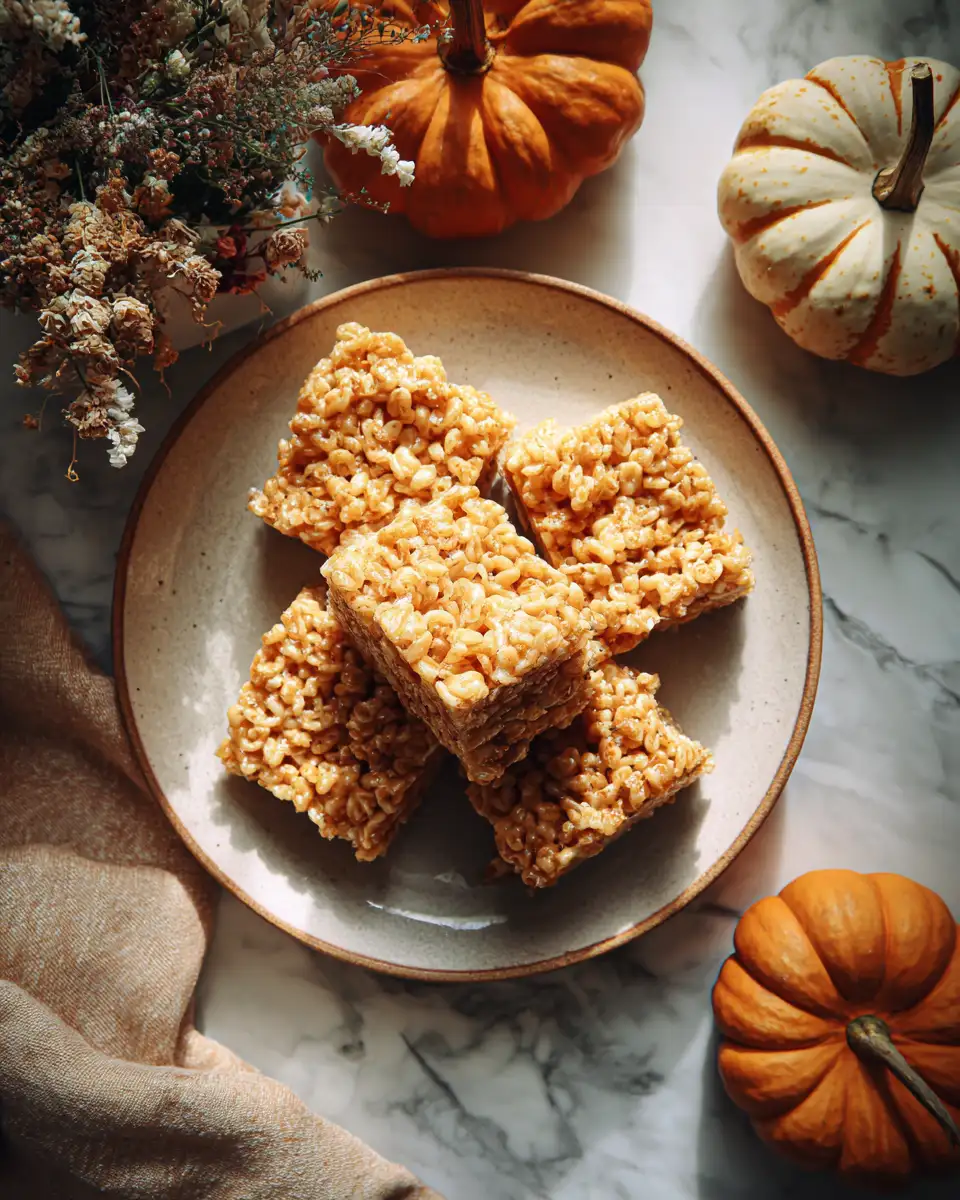
Pumpkin Rice Krispie Treats might sound like a quirky twist on a childhood favorite, but trust me, they quickly became a staple in my kitchen during those crisp fall evenings when Maya and little Eli wanted something sweet yet comforting. Growing up in a small coastal town, family dinners were a sacred ritual—not just about feeding bellies but about sharing stories, laughter, and sometimes, those imperfect kitchen experiments that taught me how to balance flavors. These treats marry that nostalgic crunch with a warm pumpkin note, making them the kind of snack that feels like a cozy hug from the inside out. And having spent years turning simple pantry staples into crowd-pleasers, I’m excited to share a recipe that is just as approachable as it is delicious.
Table of Contents
Why You’ll Love This Pumpkin Rice Krispie Treats
If you’ve ever found yourself staring at a bag of marshmallows and a box of cereal wondering what to make, you’re in the right place. These Pumpkin Rice Krispie Treats take that classic, no-fuss dessert and give it a seasonal spin without complicating the process. I remember one chilly evening when Eli was restless after school, and a batch of these was the perfect quick fix—sweet but not overwhelming, and with just enough pumpkin flavor to feel festive without being too heavy.
What I love most is how this recipe respects your time and pantry. It’s a one-bowl wonder, and you don’t need fancy ingredients or a long list of steps. Plus, if you’re like me and enjoy stretching simple ingredients into meals and snacks that bring people together, these treats fit right into that ethos. They’re kid-approved (Eli gave them two thumbs up without negotiation), budget-friendly, and perfect for sharing at a potluck or enjoying as a little weeknight indulgence.
And because I’ve learned the hard way—like that time I oversalted chili at twelve and had to rethink my entire pot—this recipe is balanced for flavor, with just the right touch of pumpkin spice and sweetness, so you don’t have to worry about tweaking as you go.
Ingredients You’ll Need for This Pumpkin Rice Krispie Treats

- 6 cups Rice Krispies cereal (or your favorite crispy rice cereal)
- 3 tablespoons unsalted butter
- 1 (10-ounce) bag mini marshmallows
- 1/2 cup canned pure pumpkin puree (not pumpkin pie filling)
- 1 teaspoon pumpkin pie spice (or a mix of cinnamon, nutmeg, and ginger)
- 1/2 teaspoon vanilla extract
- 1/4 teaspoon salt
- Optional: 1/2 cup chopped pecans or walnuts for extra crunch
If you’re out of pumpkin pie spice, a simple substitute with 1/2 teaspoon cinnamon, 1/4 teaspoon ground nutmeg, and a pinch of ground ginger does the trick. For a dairy-free version, swap out butter for coconut oil—the flavor pairs surprisingly well with the pumpkin notes. And if mini marshmallows aren’t on hand, regular marshmallows chopped into smaller pieces work just fine.
Nutrition Facts
- Calories: Approximately 210 per serving (1 bar)
- Protein: 2g
- Fat: 5g
- Carbohydrates: 38g
- Fiber: 1g
- Sugar: 20g
- Sodium: 120mg
These numbers are based on cutting the batch into 12 bars. While they’re a sweet treat, the addition of pumpkin puree adds a touch of fiber and moisture, making them feel a bit more wholesome than your average Rice Krispie treat. Plus, with a moderate fat content from butter and optional nuts, these bars provide a satisfying texture that’s perfect for afternoon snacking or dessert.
Print
Irresistible Pumpkin Rice Krispie Treats That Everyone Will Love
- Total Time: 45 minutes
- Yield: 4 servings 1x
Description
Learn how to make delicious Pumpkin Rice Krispie Treats. Easy recipe with step-by-step instructions.
Ingredients
- 6 cups Rice Krispies cereal (or your favorite crispy rice cereal)
- 3 tablespoons unsalted butter
- 1 (10-ounce) bag mini marshmallows
- 1/2 cup canned pure pumpkin puree (not pumpkin pie filling)
- 1 teaspoon pumpkin pie spice (or a mix of cinnamon, nutmeg, and ginger)
- 1/2 teaspoon vanilla extract
- 1/4 teaspoon salt
- Optional: 1/2 cup chopped pecans or walnuts for extra crunch
If you’re out of pumpkin pie spice, a simple substitute with 1/2 teaspoon cinnamon, 1/4 teaspoon ground nutmeg, and a pinch of ground ginger does the trick. For a dairy-free version, swap out butter for coconut oil—the flavor pairs surprisingly well with the pumpkin notes. And if mini marshmallows aren’t on hand, regular marshmallows chopped into smaller pieces work just fine.
Instructions
- Prepare a 9×13-inch baking pan by greasing it lightly with butter or lining it with parchment paper for easy removal later.
- In a large saucepan, melt the butter over low heat. Once melted, add the mini marshmallows and stir constantly until they’re completely melted and smooth. This usually takes about 4-5 minutes—keep the heat low to avoid burning.
- Remove the pan from the heat. Stir in the pumpkin puree, pumpkin pie spice, vanilla extract, and salt. Mix well until everything is fully combined and the mixture is glossy and smooth. I like to taste a little here to make sure the spice balance is right—more cinnamon if you want it warmer, or a pinch more nutmeg for a bit of earthiness.
- Immediately add the Rice Krispies cereal to the marshmallow mixture. Using a sturdy spatula or wooden spoon, fold the cereal in gently but thoroughly, making sure every piece is coated without crushing the cereal too much.
- If using nuts, fold them in now to spread the crunch evenly throughout.
- Transfer the mixture to your prepared pan. Using a buttered spatula or clean hands (lightly greased to prevent sticking is a trick I’ve learned from years of Rice Krispie making), press the mixture firmly and evenly into the pan. Don’t press too hard—you want the treats to be compact but still airy.
- Let the treats cool at room temperature for at least 1 hour to set properly. If you’re in a hurry, you can pop the pan in the fridge for 30 minutes, but I find the texture is best when allowed to cool slowly.
- Once set, cut into bars or squares and serve. These treats are best enjoyed fresh but hold up well for a couple of days.
One thing I’ve learned from those “Wednesday dinners” back in college, where timing was everything, is that having clear steps and reliable timing helps keep the kitchen stress-free. So, take your time melting the marshmallows and folding in the cereal—that’s where the magic happens!
- Prep Time: 15 minutes
- Cook Time: 30 minutes
- Category: Main Dish
- Method: Cooking
- Cuisine: International
Keywords: Pumpkin Rice Krispie Treats, recipe, cooking, food
Steps to Create Your Pumpkin Rice Krispie Treats
- Prepare a 9×13-inch baking pan by greasing it lightly with butter or lining it with parchment paper for easy removal later.
- In a large saucepan, melt the butter over low heat. Once melted, add the mini marshmallows and stir constantly until they’re completely melted and smooth. This usually takes about 4-5 minutes—keep the heat low to avoid burning.
- Remove the pan from the heat. Stir in the pumpkin puree, pumpkin pie spice, vanilla extract, and salt. Mix well until everything is fully combined and the mixture is glossy and smooth. I like to taste a little here to make sure the spice balance is right—more cinnamon if you want it warmer, or a pinch more nutmeg for a bit of earthiness.
- Immediately add the Rice Krispies cereal to the marshmallow mixture. Using a sturdy spatula or wooden spoon, fold the cereal in gently but thoroughly, making sure every piece is coated without crushing the cereal too much.
- If using nuts, fold them in now to spread the crunch evenly throughout.
- Transfer the mixture to your prepared pan. Using a buttered spatula or clean hands (lightly greased to prevent sticking is a trick I’ve learned from years of Rice Krispie making), press the mixture firmly and evenly into the pan. Don’t press too hard—you want the treats to be compact but still airy.
- Let the treats cool at room temperature for at least 1 hour to set properly. If you’re in a hurry, you can pop the pan in the fridge for 30 minutes, but I find the texture is best when allowed to cool slowly.
- Once set, cut into bars or squares and serve. These treats are best enjoyed fresh but hold up well for a couple of days.
One thing I’ve learned from those “Wednesday dinners” back in college, where timing was everything, is that having clear steps and reliable timing helps keep the kitchen stress-free. So, take your time melting the marshmallows and folding in the cereal—that’s where the magic happens!
Tips for Making the Best Pumpkin Rice Krispie Treats
- Use fresh marshmallows: Older marshmallows can be dry and won’t melt as smoothly.
- Don’t skip the pumpkin puree: It adds moisture and that lovely autumn flavor without making the treats soggy.
- Adjust the spice: Pumpkin pie spice can vary in strength; start with less and add more if you prefer a bolder flavor.
- Gentle folding: Be careful not to overmix once you add the cereal—this keeps the treats light and crunchy.
- Butter your hands or spatula: It makes pressing the mixture into the pan easier and prevents sticking.
- Try mix-ins: If you want to experiment, dried cranberries or chocolate chips can add a fun twist.
These tips come from years of tweaking and testing recipes in my own kitchen—whether it was fixing that early oversalted chili or hosting affordable dinners for friends. The small details, like buttering your hands and adjusting spices to taste, make a big difference in the final result.
Serving Suggestions and Pairings
These Pumpkin Rice Krispie Treats shine on their own as a snack, but they’re also fantastic when paired with a few simple extras. For a cozy fall gathering, serve them alongside a warm cup of spiced apple cider or a rich hot chocolate. If you’re bringing these to a potluck or school event, wrapping individual bars in parchment paper makes for easy grab-and-go treats.
For a little something extra, try sprinkling a few flaky sea salt crystals on top right after pressing the mixture into the pan. That salty-sweet contrast always reminds me of those family dinners where simple touches made all the difference. If you want to turn these into dessert bars, a drizzle of melted white chocolate or a sprinkle of toasted coconut can elevate the experience without complicating things.
Storage and Reheating Tips
Like most Rice Krispie treats, these Pumpkin versions store well but are best enjoyed within 2-3 days to keep that perfect chewy-crisp texture. Keep them in an airtight container at room temperature, separated by parchment paper to prevent sticking. If your kitchen is warm or humid, you can store the container in the fridge, but that might make the treats a bit firmer.
Reheating isn’t necessary, but if you prefer a softer, gooey texture, a quick 10-second zap in the microwave does wonders. Just be careful not to overheat, or the marshmallows can get tough. I’ve found that letting them sit at room temperature for a bit after refrigeration often brings back their ideal chewiness.
Frequently Asked Questions
What are the main ingredients for Pumpkin Rice Krispie Treats?
The main ingredients for Pumpkin Rice Krispie Treats include the items listed in our ingredients section above. Each ingredient plays a crucial role in achieving the perfect flavor and texture.
How long does it take to make Pumpkin Rice Krispie Treats?
The total time to make Pumpkin Rice Krispie Treats includes both preparation and cooking time. Check the recipe card above for exact timing details.
Can I make Pumpkin Rice Krispie Treats ahead of time?
Yes, Pumpkin Rice Krispie Treats can often be prepared in advance. Store it properly in an airtight container in the refrigerator and consume within the recommended timeframe.
What can I serve with Pumpkin Rice Krispie Treats?
Pumpkin Rice Krispie Treats pairs well with various sides and accompaniments. Consider the serving suggestions mentioned in the recipe for the best dining experience.
Is Pumpkin Rice Krispie Treats suitable for special diets?
Depending on the ingredients used, Pumpkin Rice Krispie Treats may be adapted for various dietary needs. Check the ingredients list and consider substitutions as needed for your dietary requirements.
Final Thoughts
Creating these Pumpkin Rice Krispie Treats is more than just mixing cereal and marshmallows—it’s about bringing a little warmth and joy to your kitchen, much like those family dinners that shaped my love for cooking. Whether you’re a seasoned home cook or just starting out, this recipe offers a straightforward, forgiving way to make a seasonal snack that’s both nostalgic and fresh.
From Eli’s delighted “more, please” to Maya’s appreciation for easy, no-fuss desserts, this recipe has proven itself at our table time and again. It’s a reminder that simple ingredients, a bit of patience, and a sprinkle of creativity can turn everyday moments into something special. So grab your butter, marshmallows, and that trusty can of pumpkin puree—you’ve got this.
