There’s something about a Rice Krispie Treat No-Bake Cheesecake that instantly takes me back to afternoons in my small coastal hometown, where my family gathered around the kitchen table with laughter and stories. Growing up, desserts like this were more than just sweet bites—they were moments of connection, little celebrations after a day full of simple work and shared meals. I remember the first time I tried blending the classic marshmallow-cereal combo with a creamy cheesecake twist—it was a happy accident born from my love for easy, no-fuss recipes that still wow the crowd. If you’re looking for a dessert that’s approachable, quick to assemble, and packed with that nostalgic charm, this no-bake cheesecake is one you’ll want to keep on repeat.
Table of Contents
Why You’ll Love This Rice Krispie Treat No-Bake Cheesecake
From my early days experimenting in the kitchen—like when I had to rescue an oversalted chili by balancing flavors—I’ve learned that the best recipes are the ones that feel manageable and satisfying, even on a busy weeknight. This Rice Krispie Treat No-Bake Cheesecake hits that sweet spot perfectly. It’s a dessert that doesn’t require turning on the oven, making it ideal for those warm evenings when you want to whip something up without heating the whole house.
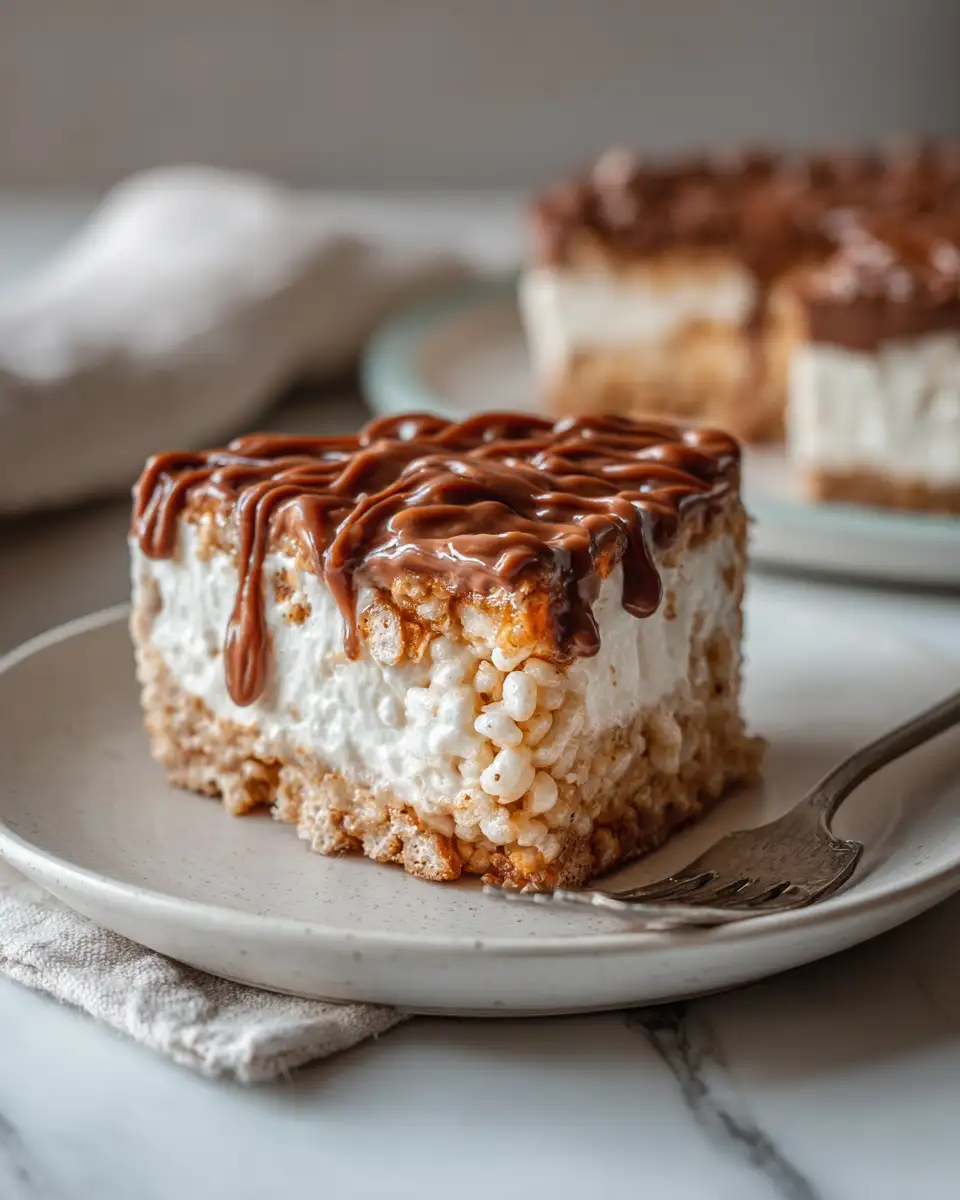
But beyond convenience, it’s the texture and flavor that make this cheesecake stand out. The crispy, airy Rice Krispies add a fun crunch that contrasts beautifully with the smooth, tangy cream cheese filling. It’s also a recipe that’s flexible—whether you’re making it for a family get-together or a casual dinner with friends, the familiar taste will bring smiles all around. Growing up, my mom stretched simple pantry staples into comforting dishes, and this dessert carries that same spirit of turning everyday ingredients into something memorable.
Plus, if you’re like me and love hosting budget-friendly dinners, this cheesecake is a great way to finish the meal without breaking the bank. It’s quick, kid-friendly (Eli gives it two thumbs up!), and perfect for those moments when you want dessert without the hassle.
Ingredients You’ll Need for This Rice Krispie Treat No-Bake Cheesecake
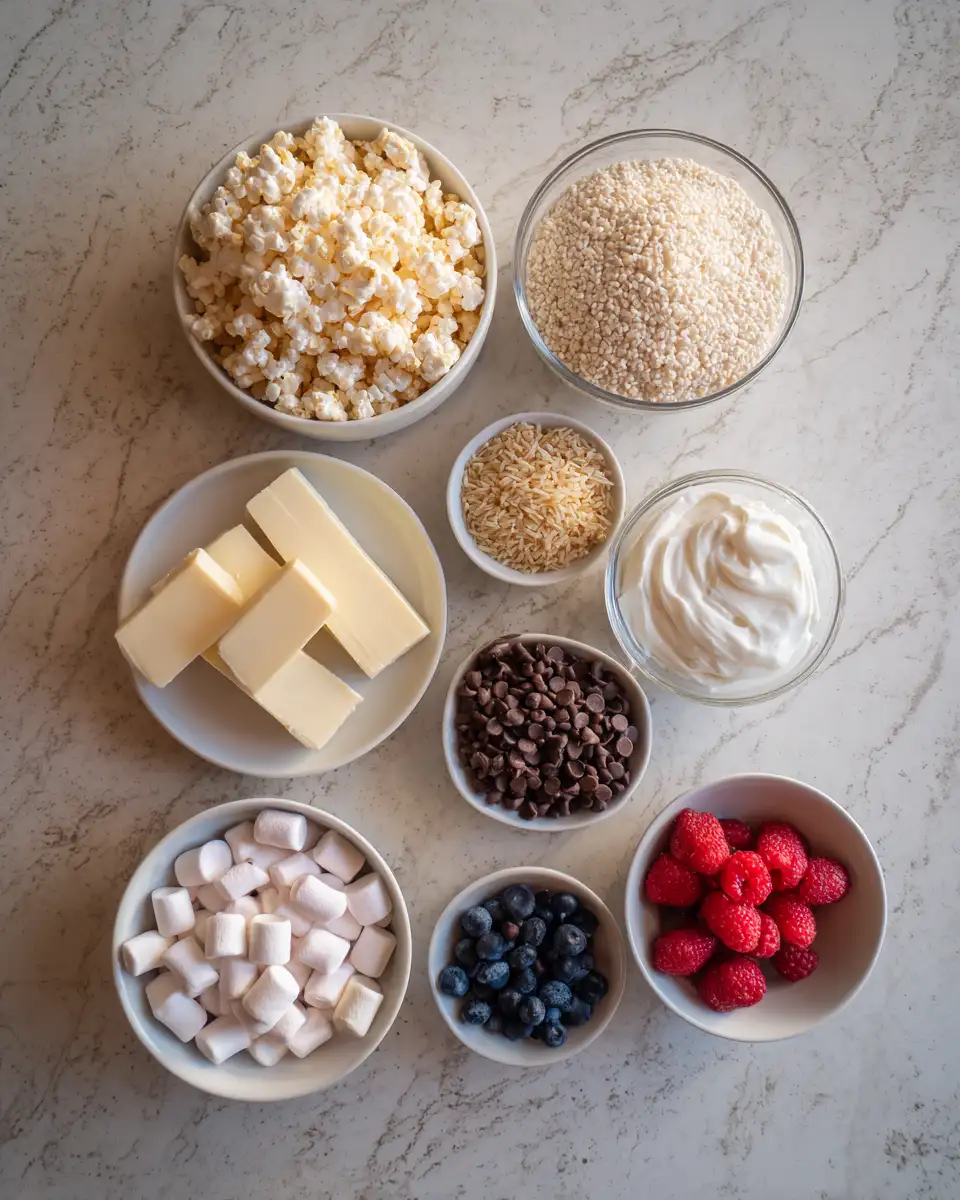
- 3 cups Rice Krispies cereal
- 1/4 cup unsalted butter
- 1 cup mini marshmallows
- 8 ounces cream cheese, softened
- 1/2 cup powdered sugar
- 1 teaspoon vanilla extract
- 1 cup heavy whipping cream
- Optional: Fresh berries or chocolate chips for topping
If you’re looking to swap ingredients, feel free to use light cream cheese or Greek yogurt for a tangier, lower-fat option. For the cereal, any puffed rice cereal works well if you can’t find Rice Krispies. And if mini marshmallows aren’t on hand, regular marshmallows chopped into smaller pieces will do just fine.
Nutrition Facts
- Calories: Approximately 320 per serving (serving size: 1/8 of the cheesecake)
- Protein: 5 grams
- Fat: 18 grams
- Carbohydrates: 35 grams
- Fiber: 1 gram
- Sugar: 20 grams
- Sodium: 180 mg
These numbers come from balancing the indulgent creaminess of the cheesecake with the light crunch of cereal. Growing up, my family valued meals that filled the belly and brought joy, and desserts like this are a little treat that fits nicely into an overall balanced day. Learn more: Creamy No Bake Pumpkin Cheesecake Recipe for Fall Indulgence
Print
Irresistible Rice Krispie Treat No Bake Cheesecake Recipe for Sweet Cravings
- Total Time: 45 minutes
- Yield: 4 servings 1x
Description
Learn how to make delicious Rice Krispie Treat No-Bake Cheesecake. Easy recipe with step-by-step instructions.
Ingredients
- 3 cups Rice Krispies cereal
- 1/4 cup unsalted butter
- 1 cup mini marshmallows
- 8 ounces cream cheese, softened
- 1/2 cup powdered sugar
- 1 teaspoon vanilla extract
- 1 cup heavy whipping cream
- Optional: Fresh berries or chocolate chips for topping
If you’re looking to swap ingredients, feel free to use light cream cheese or Greek yogurt for a tangier, lower-fat option. For the cereal, any puffed rice cereal works well if you can’t find Rice Krispies. And if mini marshmallows aren’t on hand, regular marshmallows chopped into smaller pieces will do just fine.
Instructions
- In a medium saucepan, melt the butter over low heat. Once melted, add the mini marshmallows and stir constantly until fully melted and smooth. This step reminds me of those early kitchen experiments where patience and stirring paid off big time.
- Remove the saucepan from heat and immediately stir in the Rice Krispies cereal until they are evenly coated with the marshmallow mixture. Press this mixture firmly into the bottom of a 9-inch springform pan or a pie dish to form the crust layer. Use a spatula or clean hands lightly greased with butter to help press it evenly.
- Place the crust in the refrigerator to set for about 20 minutes. This pause is key—it prevents the crust from mixing into the filling later on, and gives you a moment to breathe.
- While the crust chills, beat the softened cream cheese and powdered sugar in a large bowl until smooth and creamy. I always use a hand mixer for this step to get that silky texture without lumps.
- Add the vanilla extract and mix until combined.
- In a separate bowl, whip the heavy cream until stiff peaks form. This is one of those small wins in the kitchen that never gets old—I still remember the first time I nailed this step during college “Wednesday dinners.”
- Gently fold the whipped cream into the cream cheese mixture until fully incorporated. This folding technique keeps the filling light and airy.
- Pour the cheesecake filling over the chilled Rice Krispie crust and spread evenly with a spatula.
- Return the cheesecake to the refrigerator and chill for at least 4 hours, or overnight for best results. This waiting game is tough but worth it; the cheesecake firms up nicely and flavors meld beautifully.
- Before serving, add your choice of fresh berries, chocolate chips, or any topping you prefer for that extra touch of color and flavor.
- Prep Time: 15 minutes
- Cook Time: 30 minutes
- Category: Main Dish
- Method: Cooking
- Cuisine: International
Keywords: Rice Krispie Treat No-Bake Cheesecake, recipe, cooking, food
Steps to Create Your Rice Krispie Treat No-Bake Cheesecake
- In a medium saucepan, melt the butter over low heat. Once melted, add the mini marshmallows and stir constantly until fully melted and smooth. This step reminds me of those early kitchen experiments where patience and stirring paid off big time.
- Remove the saucepan from heat and immediately stir in the Rice Krispies cereal until they are evenly coated with the marshmallow mixture. Press this mixture firmly into the bottom of a 9-inch springform pan or a pie dish to form the crust layer. Use a spatula or clean hands lightly greased with butter to help press it evenly.
- Place the crust in the refrigerator to set for about 20 minutes. This pause is key—it prevents the crust from mixing into the filling later on, and gives you a moment to breathe.
- While the crust chills, beat the softened cream cheese and powdered sugar in a large bowl until smooth and creamy. I always use a hand mixer for this step to get that silky texture without lumps.
- Add the vanilla extract and mix until combined.
- In a separate bowl, whip the heavy cream until stiff peaks form. This is one of those small wins in the kitchen that never gets old—I still remember the first time I nailed this step during college “Wednesday dinners.”
- Gently fold the whipped cream into the cream cheese mixture until fully incorporated. This folding technique keeps the filling light and airy.
- Pour the cheesecake filling over the chilled Rice Krispie crust and spread evenly with a spatula.
- Return the cheesecake to the refrigerator and chill for at least 4 hours, or overnight for best results. This waiting game is tough but worth it; the cheesecake firms up nicely and flavors meld beautifully.
- Before serving, add your choice of fresh berries, chocolate chips, or any topping you prefer for that extra touch of color and flavor.
Tips for Making the Best Rice Krispie Treat No-Bake Cheesecake
“When I first started cooking, mistakes like oversalting taught me the value of balance and patience. This recipe is all about gentle hands and timing.”
Here are some pointers I’ve picked up along the way to help you make this cheesecake a winner every time:
- Make sure your cream cheese is fully softened before mixing to avoid lumps in your filling.
- Press the Rice Krispie crust firmly to create a solid base, but don’t over-press—it should still have a little crunch.
- Use a chilled bowl and beaters when whipping the cream to help it reach stiff peaks faster.
- If you’re short on time, you can chill the cheesecake in the freezer for about an hour, but keep an eye on it so it doesn’t freeze solid.
- Feel free to customize your toppings—Eli loves it with a sprinkle of mini chocolate chips, while Maya prefers fresh strawberries for a bright contrast.
- For a fun twist, add a pinch of cinnamon or a splash of lemon zest to the cheesecake filling for extra flavor complexity.
Serving Suggestions and Pairings
This Rice Krispie Treat No-Bake Cheesecake shines on its own but pairing it thoughtfully can elevate your dessert experience. I’ve found that serving it with a simple cup of freshly brewed coffee or a glass of cold milk brings out the best in its creamy, crunchy layers.
For something more festive, try pairing it with lightly macerated berries or a drizzle of chocolate sauce. When hosting my Wednesday dinners back in college, I’d often serve this alongside seasonal fruit salads or a scoop of vanilla ice cream to round out the meal without much fuss.
Because of its light texture, this cheesecake also pairs well with sparkling water infused with lemon or cucumber, which helps cleanse the palate and keeps things refreshing.
Storage and Reheating Tips
One of the things I appreciate most about this dessert is how well it stores—perfect for those times when you want to prep ahead or save leftovers for later. After baking, cover the cheesecake tightly with plastic wrap or transfer it to an airtight container.
- Store in the refrigerator for up to 4 days. It keeps its texture and flavor beautifully.
- Because it’s no-bake, reheating isn’t necessary. Serve it chilled for the best experience.
- If planning to freeze, wrap it well in plastic wrap and aluminum foil to avoid ice crystals. Thaw overnight in the fridge before serving.
My family has learned that this cheesecake keeps its charm even a day or two later—Eli’s verdict hasn’t changed, which is always my ultimate test!
Frequently Asked Questions
What are the main ingredients for Rice Krispie Treat No-Bake Cheesecake?
The main ingredients for Rice Krispie Treat No-Bake Cheesecake include the items listed in our ingredients section above. Each ingredient plays a crucial role in achieving the perfect flavor and texture.
How long does it take to make Rice Krispie Treat No-Bake Cheesecake?
The total time to make Rice Krispie Treat No-Bake Cheesecake includes both preparation and cooking time. Check the recipe card above for exact timing details.
Can I make Rice Krispie Treat No-Bake Cheesecake ahead of time?
Yes, Rice Krispie Treat No-Bake Cheesecake can often be prepared in advance. Store it properly in an airtight container in the refrigerator and consume within the recommended timeframe.
What can I serve with Rice Krispie Treat No-Bake Cheesecake?
Rice Krispie Treat No-Bake Cheesecake pairs well with various sides and accompaniments. Consider the serving suggestions mentioned in the recipe for the best dining experience.
Is Rice Krispie Treat No-Bake Cheesecake suitable for special diets?
Depending on the ingredients used, Rice Krispie Treat No-Bake Cheesecake may be adapted for various dietary needs. Check the ingredients list and consider substitutions as needed for your dietary requirements.
Final Thoughts
Creating this Rice Krispie Treat No-Bake Cheesecake feels like coming full circle—from those early kitchen mishaps to the joyful, no-stress meals Maya, Eli, and I share around our table today. It’s a recipe that embodies the warmth of family gatherings, the simplicity of pantry staples, and the delight of sharing something delicious without fuss.
Whether you’re a seasoned home cook or just starting out, this no-bake cheesecake invites you to embrace cooking as a way to connect and create moments of joy. So next time you’re craving something sweet, remember you’ve got this—simple ingredients, a little patience, and a recipe that’s as approachable as it is satisfying. I hope it brings the same smiles to your table it has to mine.