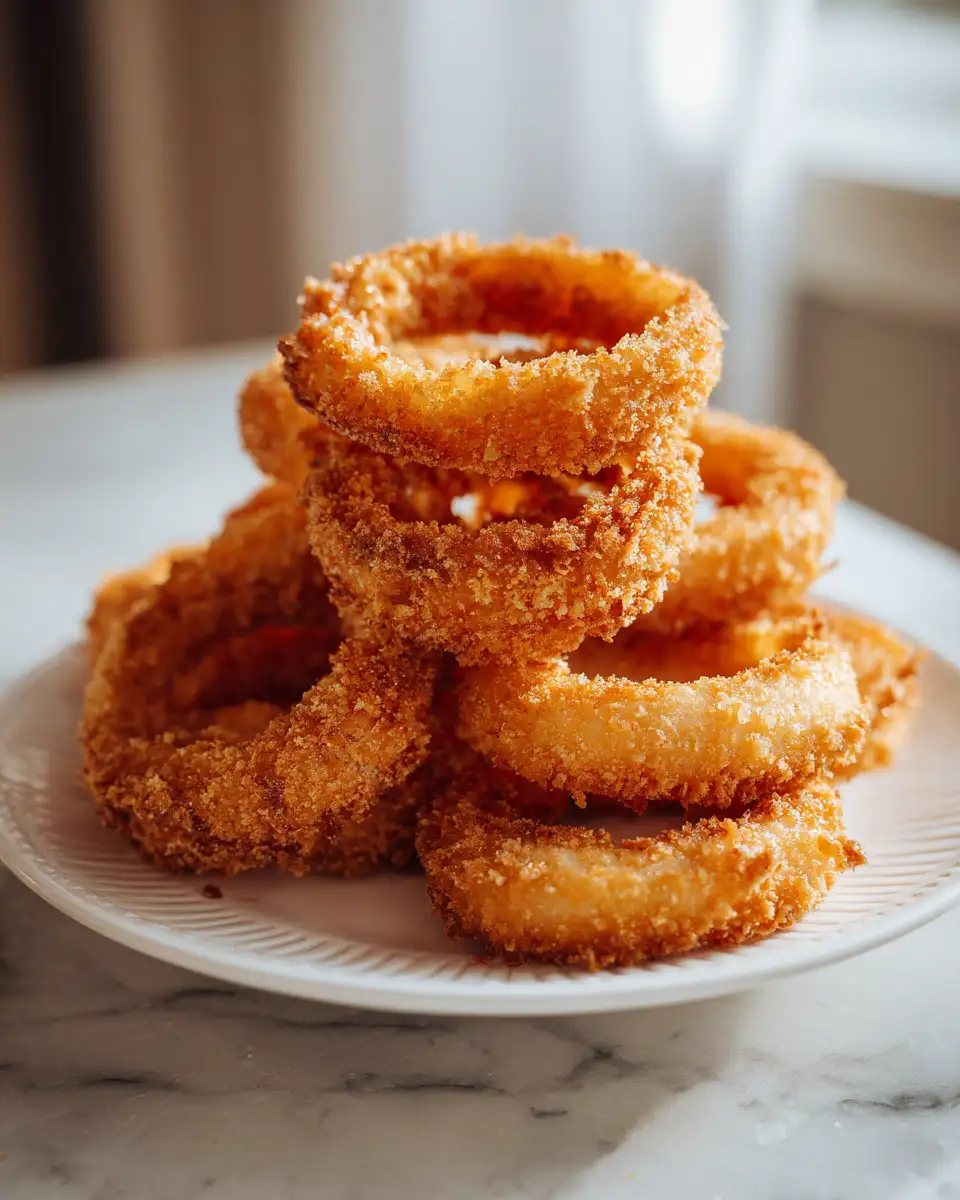
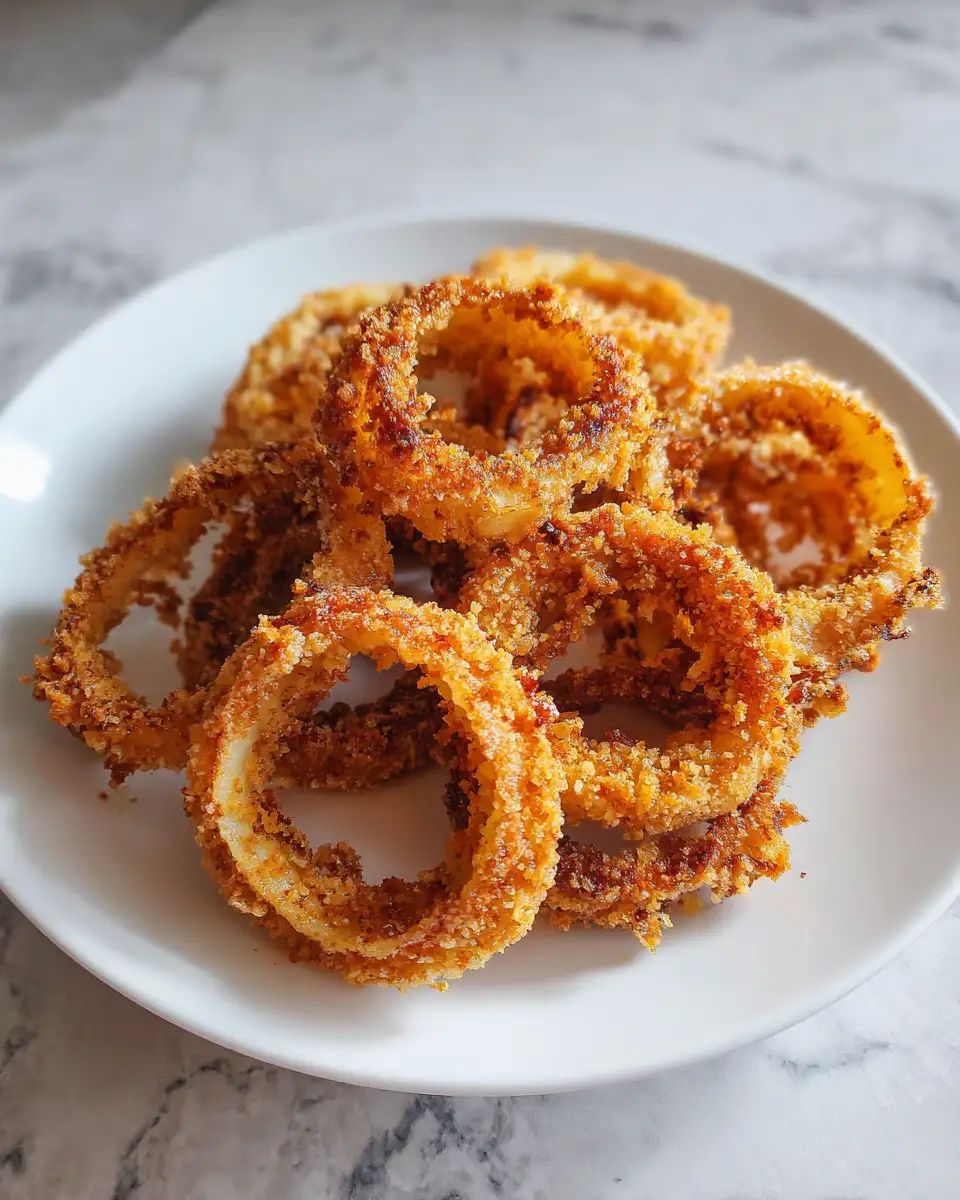
There’s something undeniably satisfying about biting into golden, CRISPY HOMEMADE ONION RINGS—the kind that crackle with just the right crunch and reveal a tender, sweet onion inside. Growing up in a small coastal town, family dinners were my favorite moments, and onion rings were often the little indulgence that brought smiles all around the table. I still remember the first time I tried making them myself after oversalting a pot of chili when I was twelve. Fixing that chili sparked my love for balancing flavors, but mastering onion rings was my way of rewarding myself for those kitchen experiments. Today, I’m excited to share a recipe that’s approachable, budget-friendly, and just as satisfying for your weeknight meals or weekend treats.
Table of Contents
Why You’ll Love This CRISPY HOMEMADE ONION RINGS
There’s a special kind of joy that comes from making CRISPY HOMEMADE ONION RINGS at home. Unlike store-bought or frozen varieties, these onion rings offer a fresh, crunchy texture that you control from start to finish. Plus, you can tweak the seasoning to suit your family’s tastes—a trick I learned watching my parents stretch simple pantry staples into delicious meals. These onion rings are not only perfect as a snack or side dish, but they also bring a cozy, nostalgic vibe to the table that’s hard to beat.
What I love most is how forgiving this recipe is. Whether you’re a seasoned home cook or just starting out, the step-by-step process lets you build confidence as you go. And because I test every recipe on my partner Maya and our son Eli (who’s notoriously picky), I can promise these onion rings hit the mark on flavor and crunch without any fuss. If Eli eats them without bargaining, that’s my green light every time!
Ingredients You’ll Need for This CRISPY HOMEMADE ONION RINGS
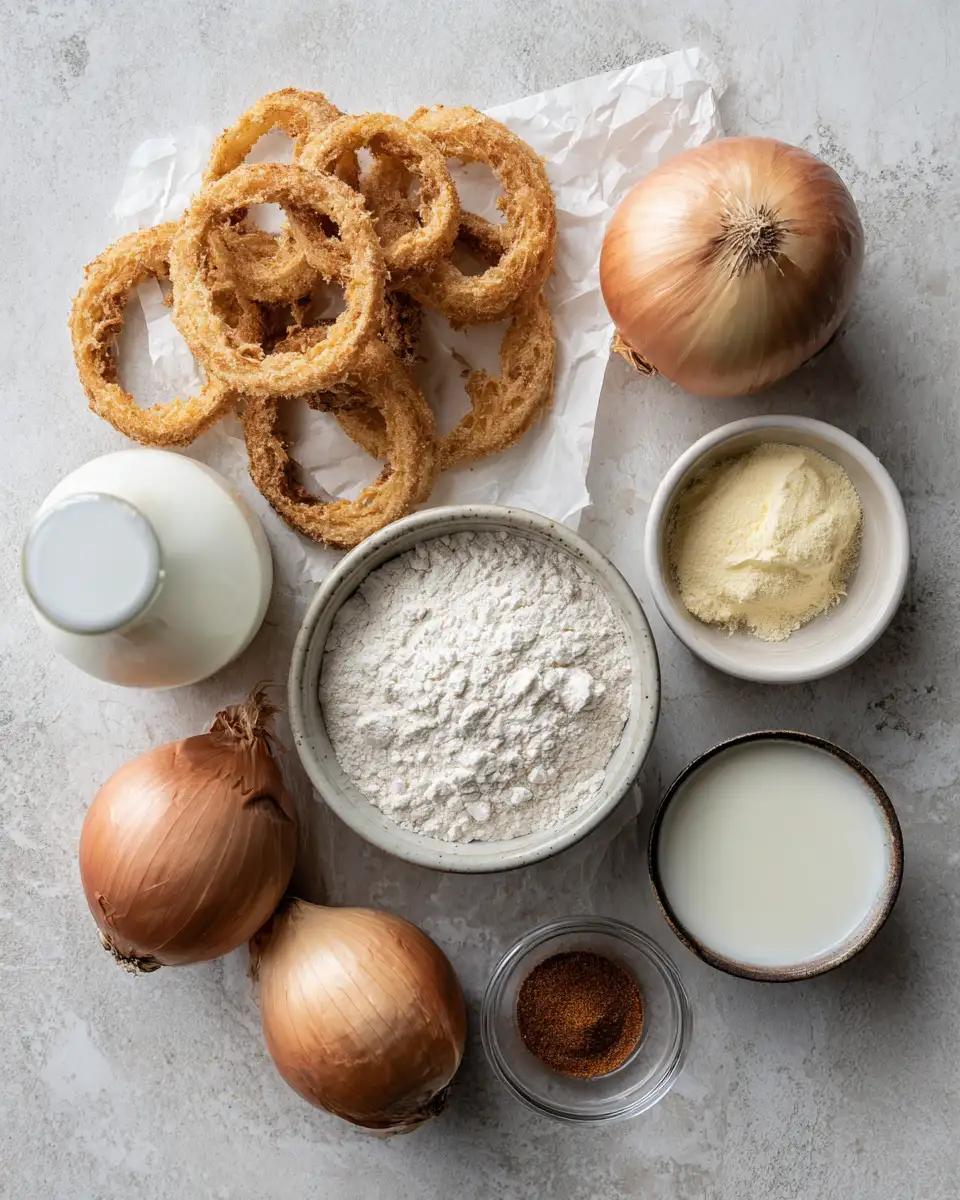
- 2 large sweet onions (Vidalia or Walla Walla work great)
- 1 ½ cups all-purpose flour
- 1 teaspoon baking powder
- 1 teaspoon salt, plus extra for seasoning
- 1 teaspoon smoked paprika (optional, but adds nice depth)
- 1 cup buttermilk (or 1 cup milk + 1 tablespoon lemon juice, let sit 5 minutes)
- 1 large egg
- 1 ½ cups panko breadcrumbs (for extra crunch) or regular breadcrumbs
- Vegetable oil or canola oil, for frying (about 2-3 cups depending on your pan size)
Substitution tips: If you don’t have buttermilk, the milk and lemon juice combo works just as well and was a trick my mom used when we were tight on ingredients. For gluten-free options, swap the flour and breadcrumbs with your favorite gluten-free blends—just check that they’re suitable for frying.
Nutrition Facts
- Calories: Approximately 280 per serving (about 6 rings)
- Protein: 5g
- Fat: 15g
- Carbohydrates: 30g
- Fiber: 2g
- Sugar: 5g (naturally from the onions)
- Sodium: 450mg (mostly from salt and baking powder)
These numbers can vary based on oil absorption and portion size, but overall, these onion rings strike a good balance between indulgence and portion control—perfect for sharing at family dinners without overdoing it.
Print
The Ultimate Guide to Crispy Homemade Onion Rings You’ll Love
- Total Time: 45 minutes
- Yield: 4 servings 1x
Description
Learn how to make delicious CRISPY HOMEMADE ONION RINGS. Easy recipe with step-by-step instructions.
Ingredients
- 2 large sweet onions (Vidalia or Walla Walla work great)
- 1 ½ cups all-purpose flour
- 1 teaspoon baking powder
- 1 teaspoon salt, plus extra for seasoning
- 1 teaspoon smoked paprika (optional, but adds nice depth)
- 1 cup buttermilk (or 1 cup milk + 1 tablespoon lemon juice, let sit 5 minutes)
- 1 large egg
- 1 ½ cups panko breadcrumbs (for extra crunch) or regular breadcrumbs
- Vegetable oil or canola oil, for frying (about 2-3 cups depending on your pan size)
Substitution tips: If you don’t have buttermilk, the milk and lemon juice combo works just as well and was a trick my mom used when we were tight on ingredients. For gluten-free options, swap the flour and breadcrumbs with your favorite gluten-free blends—just check that they’re suitable for frying.
Instructions
- Start by peeling your onions and slicing them into ¼ to ½ inch thick rings. Separate the rings gently to keep them intact. I’ve found that thicker rings tend to hold up better during frying, especially when cooking for a crowd.
- In a shallow bowl, whisk together the flour, baking powder, salt, and smoked paprika. This seasoned flour mix will give your onion rings that signature flavorful crust.
- In another bowl, combine the buttermilk and egg until smooth. This mixture helps the flour and breadcrumbs stick perfectly to the onions.
- Place the panko breadcrumbs in a third bowl. Panko adds a wonderful extra crunch, something I started using after Eli declared regular breadcrumbs “too mushy.”
- Dip each onion ring first into the flour mixture, making sure it’s fully coated. Then dunk it into the buttermilk and egg mixture, followed by a final coat of breadcrumbs. For an extra crispy layer, you can double-dip by repeating the wet and breadcrumb step. This is a little trick I picked up from my evening culinary classes and have made my own since.
- Heat your oil in a deep skillet or Dutch oven to 350°F (use a thermometer if you have one). If you don’t have a thermometer, drop a small bit of batter in the oil—if it sizzles and rises to the surface quickly, you’re good to go.
- Carefully fry the onion rings in batches, making sure not to overcrowd the pan. Fry each batch for about 2-3 minutes, flipping halfway through, until they turn golden brown and crispy. I like to keep a plate lined with paper towels nearby to drain any excess oil.
- Once fried, sprinkle the onion rings with a pinch of salt right away to enhance their flavor. This step reminds me of my parents’ kitchen, where a little finishing salt made all the difference.
- Serve immediately for the best crunch, or keep warm in a low oven (200°F) on a wire rack while you finish frying the rest.
- Prep Time: 15 minutes
- Cook Time: 30 minutes
- Category: Main Dish
- Method: Cooking
- Cuisine: International
Keywords: CRISPY HOMEMADE ONION RINGS, recipe, cooking, food
Steps to Create Your CRISPY HOMEMADE ONION RINGS
- Start by peeling your onions and slicing them into ¼ to ½ inch thick rings. Separate the rings gently to keep them intact. I’ve found that thicker rings tend to hold up better during frying, especially when cooking for a crowd.
- In a shallow bowl, whisk together the flour, baking powder, salt, and smoked paprika. This seasoned flour mix will give your onion rings that signature flavorful crust.
- In another bowl, combine the buttermilk and egg until smooth. This mixture helps the flour and breadcrumbs stick perfectly to the onions.
- Place the panko breadcrumbs in a third bowl. Panko adds a wonderful extra crunch, something I started using after Eli declared regular breadcrumbs “too mushy.”
- Dip each onion ring first into the flour mixture, making sure it’s fully coated. Then dunk it into the buttermilk and egg mixture, followed by a final coat of breadcrumbs. For an extra crispy layer, you can double-dip by repeating the wet and breadcrumb step. This is a little trick I picked up from my evening culinary classes and have made my own since.
- Heat your oil in a deep skillet or Dutch oven to 350°F (use a thermometer if you have one). If you don’t have a thermometer, drop a small bit of batter in the oil—if it sizzles and rises to the surface quickly, you’re good to go.
- Carefully fry the onion rings in batches, making sure not to overcrowd the pan. Fry each batch for about 2-3 minutes, flipping halfway through, until they turn golden brown and crispy. I like to keep a plate lined with paper towels nearby to drain any excess oil.
- Once fried, sprinkle the onion rings with a pinch of salt right away to enhance their flavor. This step reminds me of my parents’ kitchen, where a little finishing salt made all the difference.
- Serve immediately for the best crunch, or keep warm in a low oven (200°F) on a wire rack while you finish frying the rest.
Tips for Making the Best CRISPY HOMEMADE ONION RINGS
One of my earliest lessons in the kitchen was learning to fix mistakes—like that oversalted chili I mentioned. When it comes to onion rings, a few simple tips can save you from common pitfalls: Learn more: Easy Healthy No Bake Coconut Cookies Recipe You’ll Love
“Patience and proper oil temperature are your best friends here.”
- Make sure your oil is hot enough before frying. Too cool and your onion rings will absorb oil and turn greasy; too hot and they’ll burn on the outside before cooking through.
- Don’t rush the dipping process. Coating each onion ring thoroughly ensures that satisfying crunch we all crave.
- If you want to prep ahead, slice the onions and soak them in ice water for 30 minutes before breading. This helps mellow the sharpness and adds extra crispness.
- Use a slotted spoon or spider to carefully remove the rings from the oil for less mess and safer handling.
- For a lighter version, try baking the onion rings on a wire rack at 425°F for 15-20 minutes, flipping halfway. While not quite as crispy as frying, it’s a great alternative when you want less oil.
Serving Suggestions and Pairings
Onion rings have always been a crowd-pleaser at my Wednesday dinners back in college—paired with simple, affordable staples that stretched our budgets but never compromised on flavor. Here are a few ways I like to serve them:
- As a side dish with classic cheeseburgers or crispy chicken sandwiches
- Alongside smoky barbecue ribs or grilled sausages for a weekend feast
- With a variety of dipping sauces like garlic aioli, spicy ketchup, or tangy ranch (homemade or store-bought, both work!)
- On top of leafy salads to add crunch and a touch of indulgence
- With a cold beer or a refreshing iced tea to round out the meal
Incorporating onion rings into your family meals can elevate an ordinary dinner into something memorable and fun. Watching Eli’s eyes light up when those rings come out is one of the simple joys that keeps me cooking.
Storage and Reheating Tips
While onion rings are best enjoyed fresh, life gets busy—especially with a toddler in the house—so here’s how you can save and reheat them without losing too much crunch:
- Store leftover onion rings in an airtight container in the refrigerator for up to 2 days. Avoid stacking them too tightly to prevent sogginess.
- To reheat, preheat your oven to 375°F and place the onion rings on a wire rack set over a baking sheet. Heat for about 10 minutes, flipping halfway through, until hot and crisp.
- If you have an air fryer, it’s a fantastic tool for reheating—set to 350°F for 3-4 minutes and check frequently to avoid burning.
- Avoid microwaving, as it will make the onion rings soft and limp, which defeats the purpose of that crispy texture.
These simple storage tips have saved many weeknights when I needed a quick snack or side without starting from scratch.
Frequently Asked Questions
What are the main ingredients for CRISPY HOMEMADE ONION RINGS?
The main ingredients for CRISPY HOMEMADE ONION RINGS include the items listed in our ingredients section above. Each ingredient plays a crucial role in achieving the perfect flavor and texture.
How long does it take to make CRISPY HOMEMADE ONION RINGS?
The total time to make CRISPY HOMEMADE ONION RINGS includes both preparation and cooking time. Check the recipe card above for exact timing details.
Can I make CRISPY HOMEMADE ONION RINGS ahead of time?
Yes, CRISPY HOMEMADE ONION RINGS can often be prepared in advance. Store it properly in an airtight container in the refrigerator and consume within the recommended timeframe.
What can I serve with CRISPY HOMEMADE ONION RINGS?
CRISPY HOMEMADE ONION RINGS pairs well with various sides and accompaniments. Consider the serving suggestions mentioned in the recipe for the best dining experience.
Is CRISPY HOMEMADE ONION RINGS suitable for special diets?
Depending on the ingredients used, CRISPY HOMEMADE ONION RINGS may be adapted for various dietary needs. Check the ingredients list and consider substitutions as needed for your dietary requirements.
Final Thoughts
Making CRISPY HOMEMADE ONION RINGS is one of those kitchen projects that brings together comfort, connection, and a little bit of magic. From my early days of learning to balance flavors after a kitchen mishap to hosting affordable dinners that brought friends and family close, these onion rings are a reminder that cooking doesn’t need to be complicated to be meaningful.
By focusing on simple ingredients, clear steps, and a sprinkle of patience, you can create a snack or side that’s sure to become a staple in your home too. Whether you’re cooking for your family, friends, or just yourself after a long day, I hope this recipe gives you the confidence to enjoy every crunchy bite. Trust me—the sound of those onion rings crisping in the pan is one of the best kitchen sounds out there.