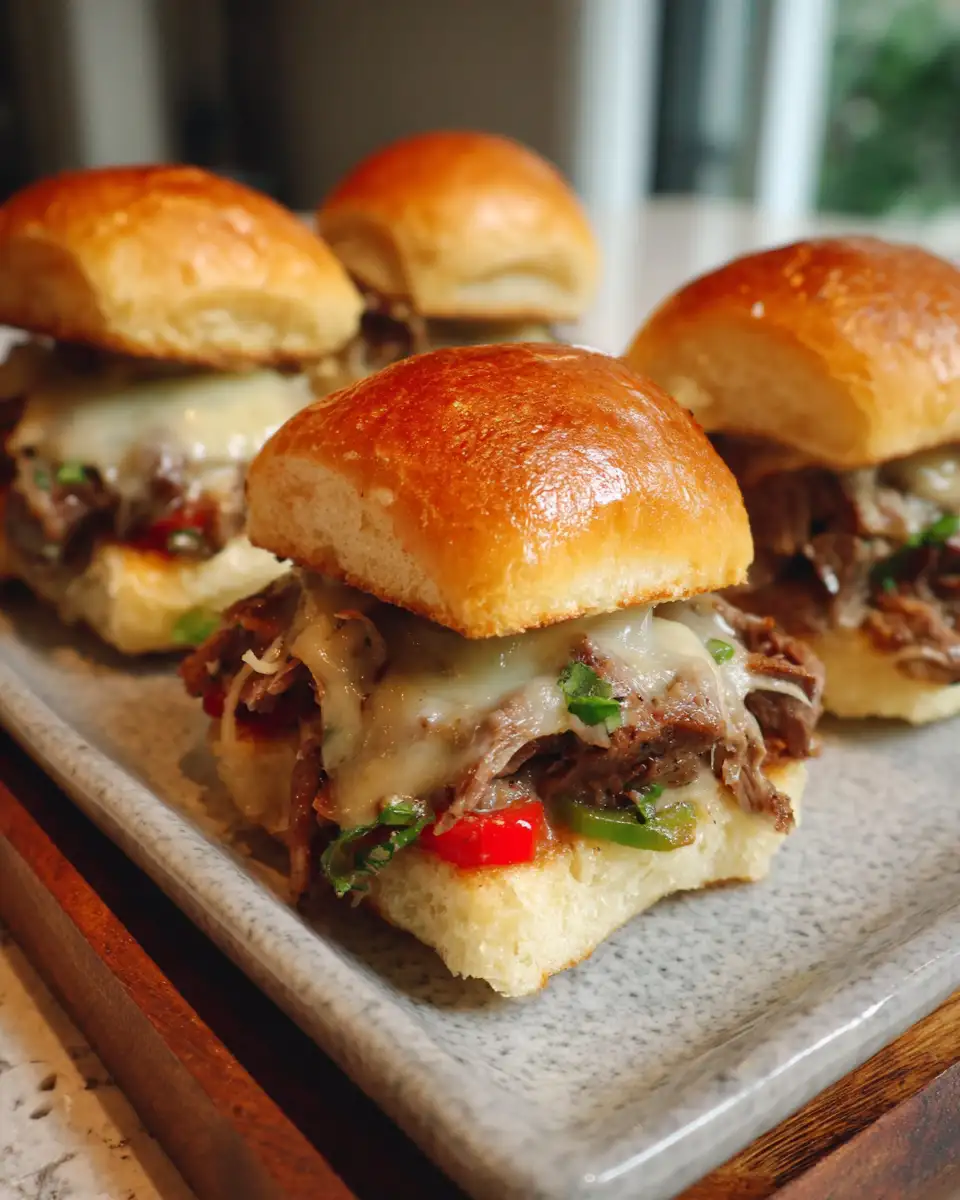
Philly Cheesesteak Sliders have become a staple in our home, often making their way to the table when we’re in the mood for something hearty yet easy to share. Growing up in a small coastal town, family meals were more than just eating—they were about connection. And let me tell you, there’s something about the savory aroma of these sliders that transports me right back to those special dinners. My early experiments in the kitchen, like the infamous chili incident, taught me the importance of getting flavors just right. So, when I craft a recipe, especially one as beloved as these sliders, I focus on balancing flavors in a way that makes every bite satisfying and leaves everyone asking for seconds.
Table of Contents
Why You’ll Love This Philly Cheesesteak Sliders
There’s a certain magic in transforming simple ingredients into something that feels special, and these Philly Cheesesteak Sliders do just that. They bring together the classic flavors of a traditional cheesesteak in a convenient, hand-held form. Whether you’re hosting a casual family dinner or a game day gathering, these sliders are sure to please a crowd. They’re quick to assemble, easy on the budget, and packed with flavor—just like those one-pot meals I used to whip up during my college days. And, as always, they’re tested and approved by my toughest critics: my partner Maya and our son Eli, who gives them his seal of approval without any bargaining required.
Ingredients You’ll Need for This Philly Cheesesteak Sliders
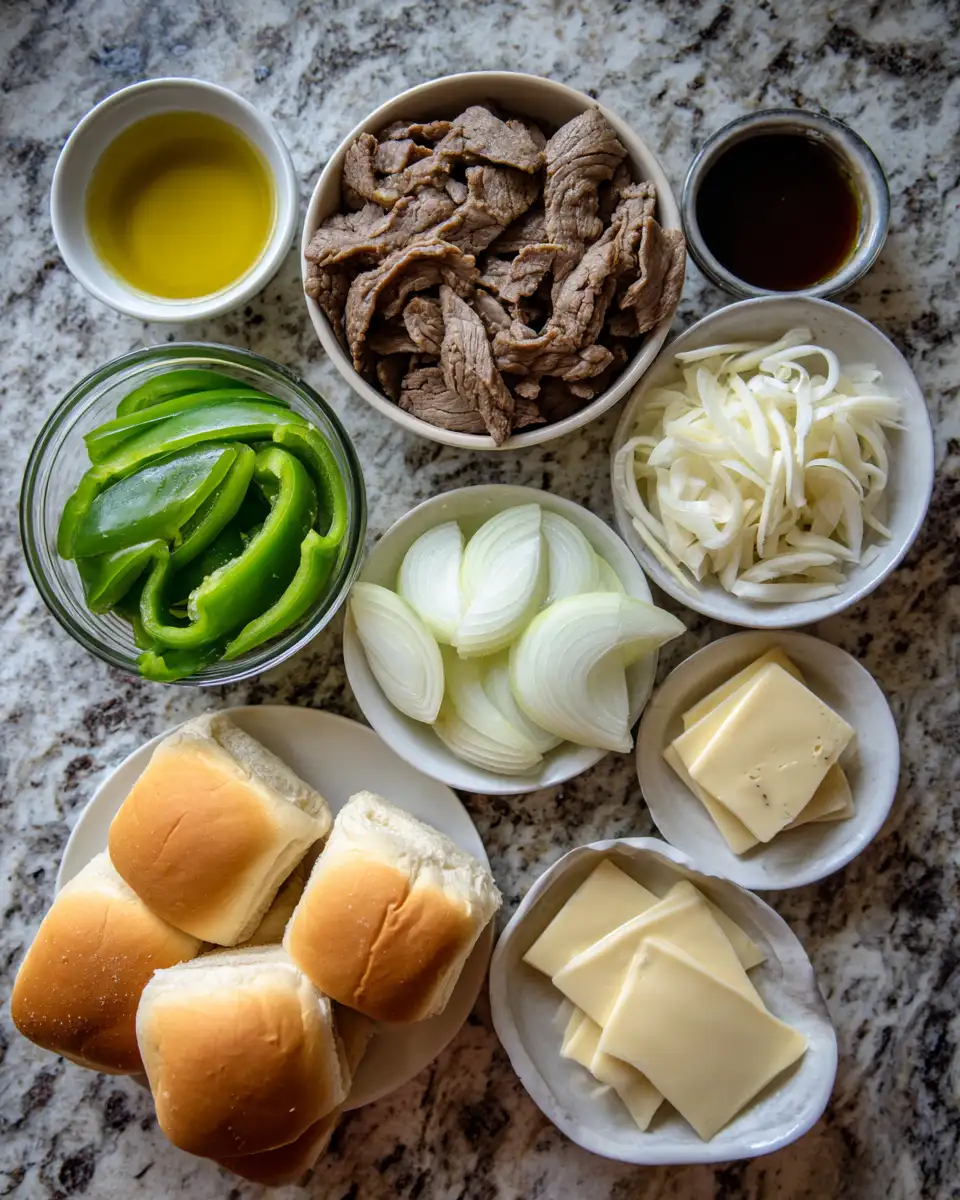
- 1 pound thinly sliced beef steak (ribeye or sirloin works best)
- 12 slider buns
- 1 tablespoon olive oil
- 1 large onion, thinly sliced
- 1 green bell pepper, thinly sliced
- 6 slices provolone cheese
- 2 tablespoons melted butter
- 1 teaspoon garlic powder
- Salt and pepper to taste
If you’re looking for substitutions, you can swap provolone with mozzarella for a milder taste or use whole wheat buns for a healthier twist. The beauty of cooking at home is making the dish your own, and I always encourage experimenting with what you have on hand.
Nutrition Facts
- Calories: 320 per serving
- Protein: 19g
- Fat: 15g
- Carbohydrates: 28g
- Fiber: 1g
- Sugar: 3g
- Sodium: 520mg

Sizzling Philly Cheesesteak Sliders: Bite-Sized Flavor Explosion
- Total Time: 45 minutes
- Yield: 4 servings 1x
Description
Learn how to make delicious Philly Cheesesteak Sliders. Easy recipe with step-by-step instructions.
Ingredients
- 1 pound thinly sliced beef steak (ribeye or sirloin works best)
- 12 slider buns
- 1 tablespoon olive oil
- 1 large onion, thinly sliced
- 1 green bell pepper, thinly sliced
- 6 slices provolone cheese
- 2 tablespoons melted butter
- 1 teaspoon garlic powder
- Salt and pepper to taste
If you’re looking for substitutions, you can swap provolone with mozzarella for a milder taste or use whole wheat buns for a healthier twist. The beauty of cooking at home is making the dish your own, and I always encourage experimenting with what you have on hand.
Instructions
- Preheat your oven to 350°F. This ensures the sliders bake evenly and the cheese melts just right.
- In a large skillet over medium heat, add olive oil. Once hot, sauté the onions and bell peppers until they are soft and translucent, about 5-7 minutes. This step reminds me of my first attempts at balancing flavors—be patient and let the veggies develop their sweetness.
- Season the beef with salt and pepper and add it to the skillet. Cook until the beef is browned and cooked through, about 4-5 minutes. Remember, a good sear locks in flavor, so don’t rush this step.
- Slice the slider buns in half and place the bottom halves on a baking sheet. Evenly distribute the beef mixture over the buns, followed by the provolone cheese slices.
- Cover with the top halves of the buns. Brush the tops with melted butter mixed with garlic powder to add an extra layer of flavor.
- Bake in the preheated oven for about 10-15 minutes, or until the cheese is melted and the tops are golden brown.
- Prep Time: 15 minutes
- Cook Time: 30 minutes
- Category: Main Dish
- Method: Cooking
- Cuisine: International
Keywords: Philly Cheesesteak Sliders, recipe, cooking, food
Steps to Create Your Philly Cheesesteak Sliders
- Preheat your oven to 350°F. This ensures the sliders bake evenly and the cheese melts just right.
- In a large skillet over medium heat, add olive oil. Once hot, sauté the onions and bell peppers until they are soft and translucent, about 5-7 minutes. This step reminds me of my first attempts at balancing flavors—be patient and let the veggies develop their sweetness.
- Season the beef with salt and pepper and add it to the skillet. Cook until the beef is browned and cooked through, about 4-5 minutes. Remember, a good sear locks in flavor, so don’t rush this step.
- Slice the slider buns in half and place the bottom halves on a baking sheet. Evenly distribute the beef mixture over the buns, followed by the provolone cheese slices.
- Cover with the top halves of the buns. Brush the tops with melted butter mixed with garlic powder to add an extra layer of flavor.
- Bake in the preheated oven for about 10-15 minutes, or until the cheese is melted and the tops are golden brown.
Tips for Making the Best Philly Cheesesteak Sliders
From my years of kitchen mishaps and triumphs, here are some tips to ensure your sliders turn out perfectly every time. First, make sure to slice your beef as thinly as possible; this helps it cook quickly and evenly. If you’re short on time, ask your butcher to do this for you. Secondly, don’t skip the step of sautéing the onions and peppers until they’re nice and soft—it’s essential for that authentic Philly flavor. Lastly, if you’re planning a party, these sliders can be prepped ahead of time and baked just before serving, making them an entertainer’s dream. Learn more: Savor the Flavor: Baked Cod in Coconut Lemon Cream Sauce
Serving Suggestions and Pairings
These Philly Cheesesteak Sliders pair wonderfully with simple sides like a crisp garden salad or a batch of homemade sweet potato fries. If you’re in the mood for something more indulgent, consider serving them with a side of creamy coleslaw or classic potato salad. And don’t forget a selection of dipping sauces—some guests might love a bit of spicy mayo or tangy mustard on the side.
Storage and Reheating Tips
Should you find yourself with leftovers (a rare occurrence in our home!), these sliders store well in the refrigerator for up to three days. To reheat, pop them in a preheated 350°F oven for about 10 minutes, or until warmed through. This method keeps them from getting soggy, maintaining that delightful contrast between the crispy top and juicy filling.
Frequently Asked Questions
What are the main ingredients for Philly Cheesesteak Sliders?
The main ingredients for Philly Cheesesteak Sliders include the items listed in our ingredients section above. Each ingredient plays a crucial role in achieving the perfect flavor and texture.
How long does it take to make Philly Cheesesteak Sliders?
The total time to make Philly Cheesesteak Sliders includes both preparation and cooking time. Check the recipe card above for exact timing details.
Can I make Philly Cheesesteak Sliders ahead of time?
Yes, Philly Cheesesteak Sliders can often be prepared in advance. Store it properly in an airtight container in the refrigerator and consume within the recommended timeframe.
What can I serve with Philly Cheesesteak Sliders?
Philly Cheesesteak Sliders pairs well with various sides and accompaniments. Consider the serving suggestions mentioned in the recipe for the best dining experience.
Is Philly Cheesesteak Sliders suitable for special diets?
Depending on the ingredients used, Philly Cheesesteak Sliders may be adapted for various dietary needs. Check the ingredients list and consider substitutions as needed for your dietary requirements.
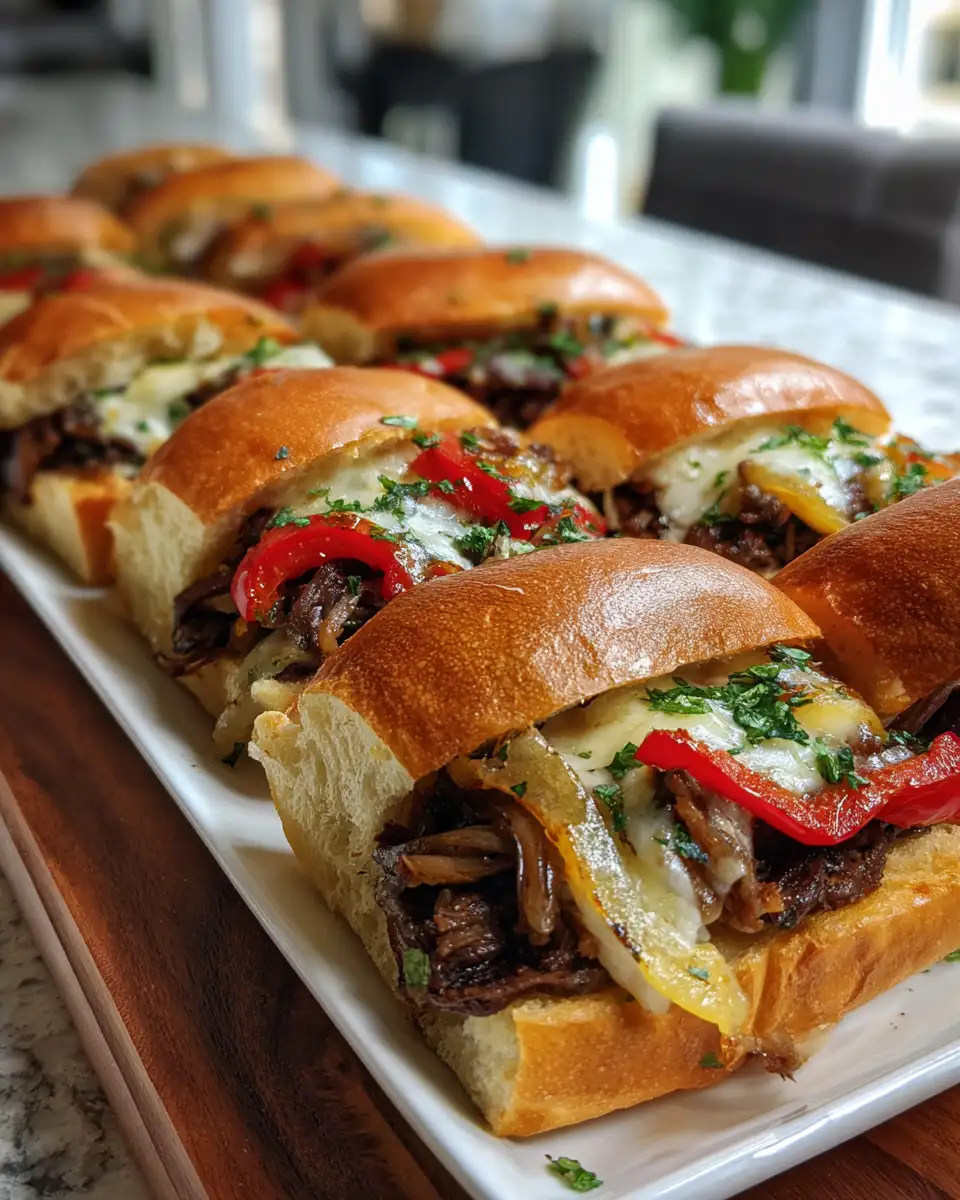
Final Thoughts
Creating these Philly Cheesesteak Sliders is not just about making a meal; it’s about inviting warmth and connection to your table, much like those cherished family dinners from my childhood. Whether you’re a seasoned home cook or just starting your culinary journey, I hope this recipe brings as much joy and satisfaction to your home as it does to ours. Remember, cooking is less about perfection and more about the shared moments it creates. So, roll up your sleeves and dive in—because you’ve got this!
